Install Squash-TA Toolbox
Prerequisite : Before starting the installation of SQUASH-TA Toolbox, you must install a JDK between 1.7 and 1.8, both 32 and 64 bits version are compatible. See here to download it from Oracle website.
First of all, download the toolbox installer a the the following link.
Launch the installer by double-clicking on it:
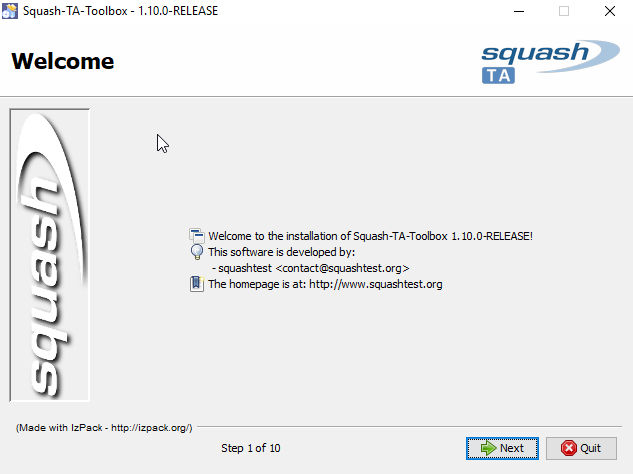
On the first screen, click on Next:
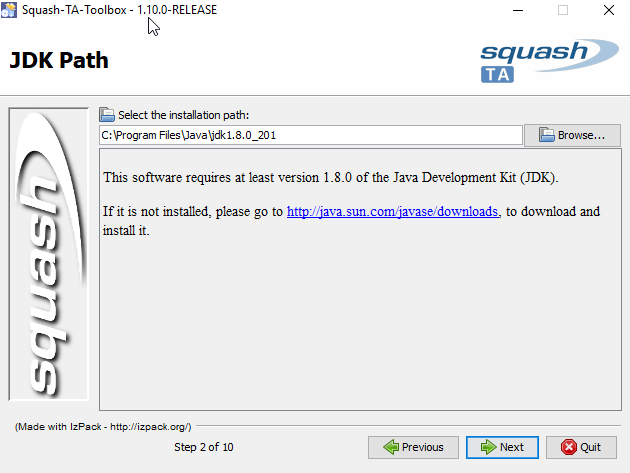
You will then be prompted to indicate the path of your JDK (to do so, click on the Browse button. Click on Next when it is done:
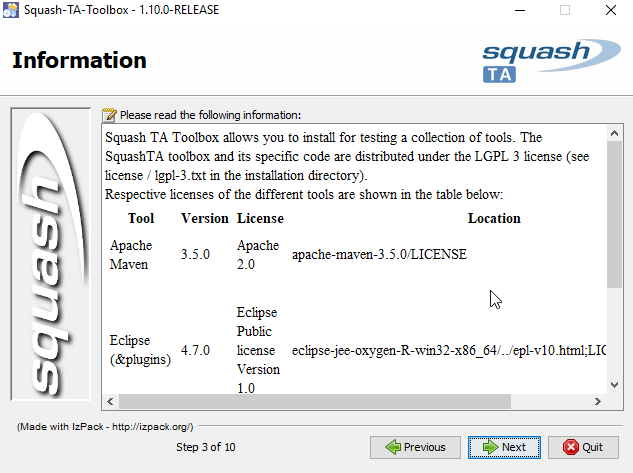
On the next screen, you will see all the licenses of the different components of Squash TA Toolbox. Click on Next:
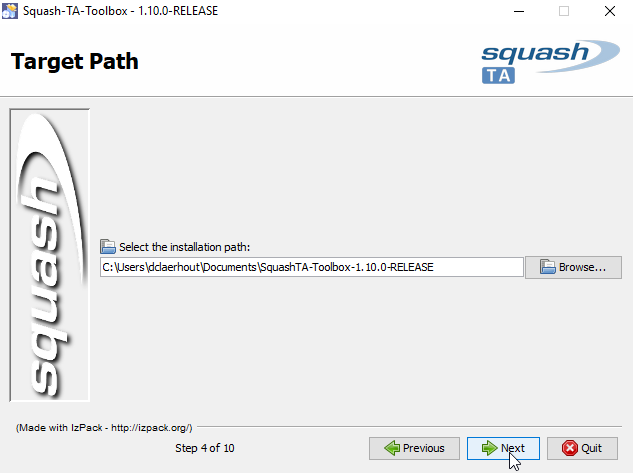
The next step allows you choose your toolbox install location. You can directly type the path in the input field, or click on Browse and select your chosen location (you may create your installation folder from there if needed). After choosing the location, click on Next:
If the target folder already exists (even if you’ve just created it), you will get the following alertbox. Click on Yes to confirm the location:

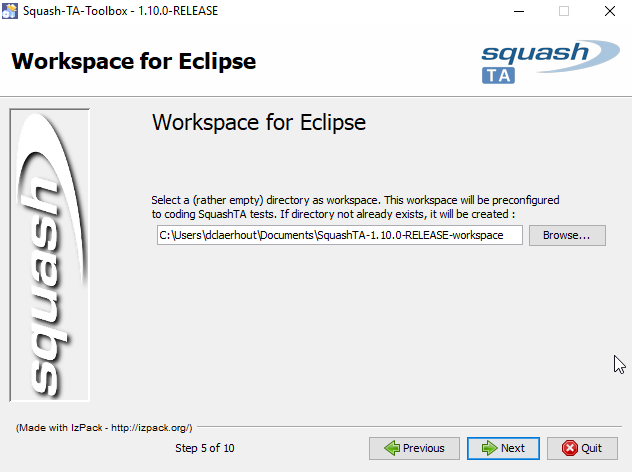
Next, you will have to choose a location to create your new Eclipse workspace for your Squash-TF projects. As for the install location, you may type the path directly or use Browse button. If the location you typed does not exist, it will be automatically created. After choosing your location, click on Next:
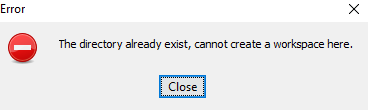
If the location already exists, you will get the following error message. You can’t create the Eclipse workspace in an existing location:
The next step lets you check the list of installed components. You may reuse some compatible components already installed on your workstation but for now let’s assume that you will be getting all tools from the toolbox, and leave all boxes checked. Click on Next:

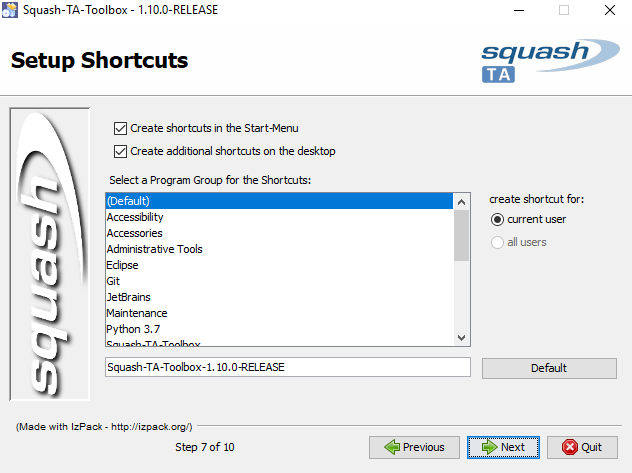
You can choose the shortcuts you want to create for which users. To install the tools for yourself only, check current user on the right radio group. Click on Next:
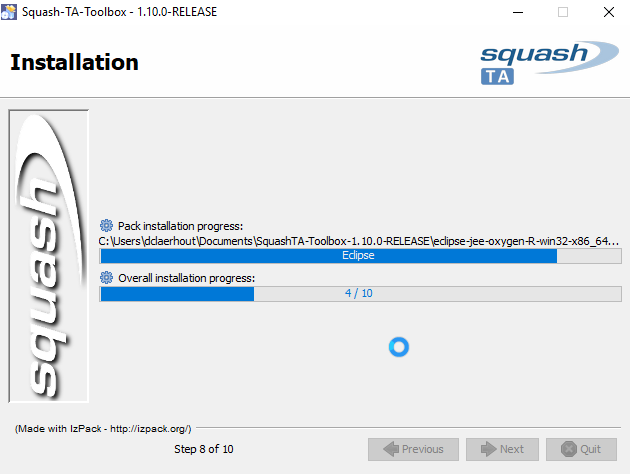
During this step, installation files are copied to the selected location. When it’s done, click on Next:
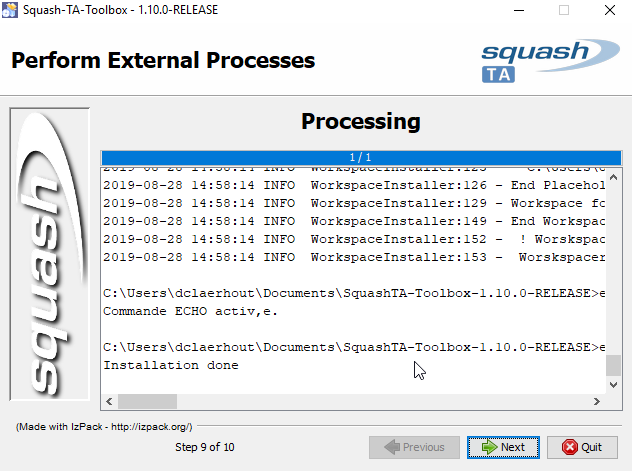
Some more information about the installation. Click on Next:
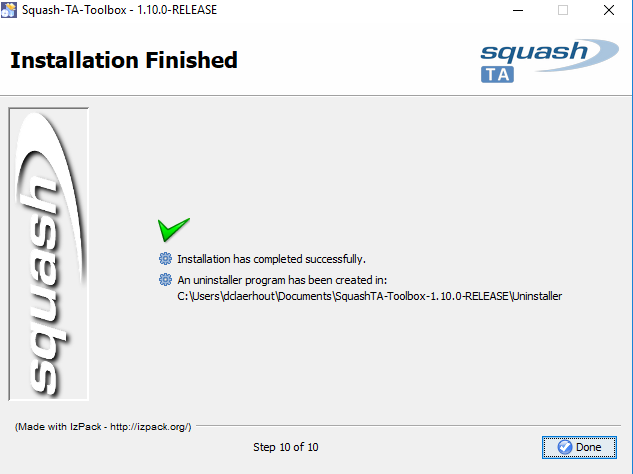
Done! You have just installed your Squash-TF test automation environment: